


How to Tile a Floor in Kenya (2026): Step-by-Step, Tools, Materials and Costs
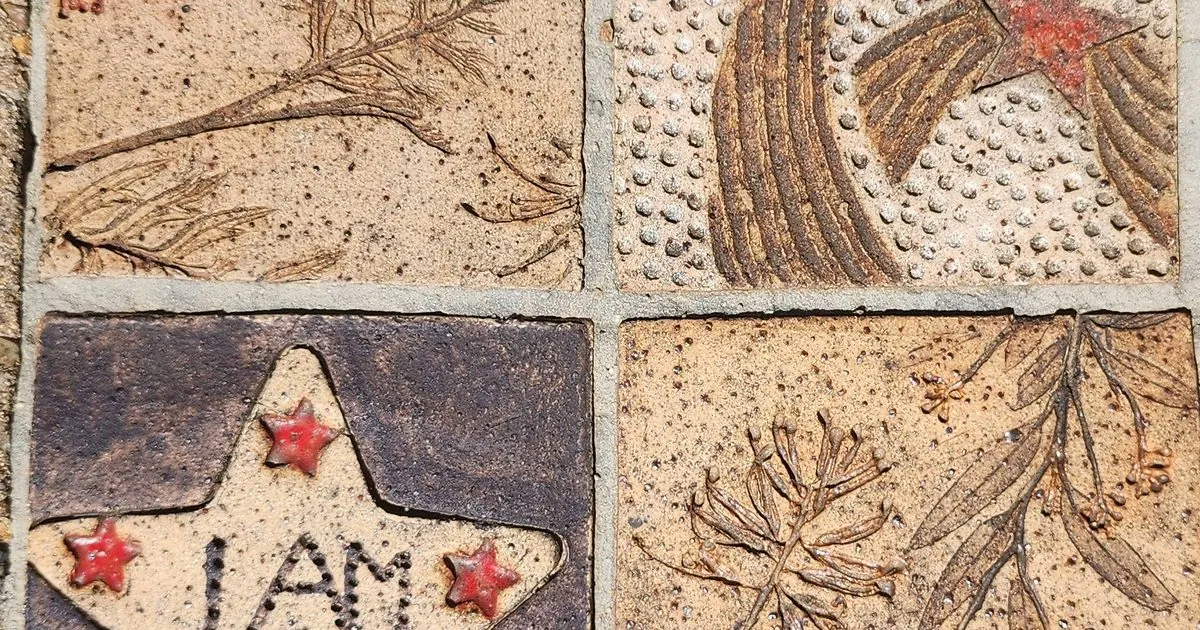
A well-tiled floor lasts for decades; a badly tiled one cracks, sounds hollow and collects dirt in uneven joints. Most problems come from rushing the preparation. Whether you hire a fundi or do it yourself, these are the steps a good job follows.
Quick answer: To tile a floor: (1) make sure the floor is clean, sound and level; (2) work out tiles plus about 10% for cuts; (3) set out from the centre of the room with string lines so cut tiles end up at the walls; (4) spread tile adhesive with a notched trowel on a small area; (5) press each tile in, using spacers and a spirit level; (6) cut edge tiles; (7) leave to set (usually about 24 hours, check the adhesive bag); (8) grout and wipe clean.
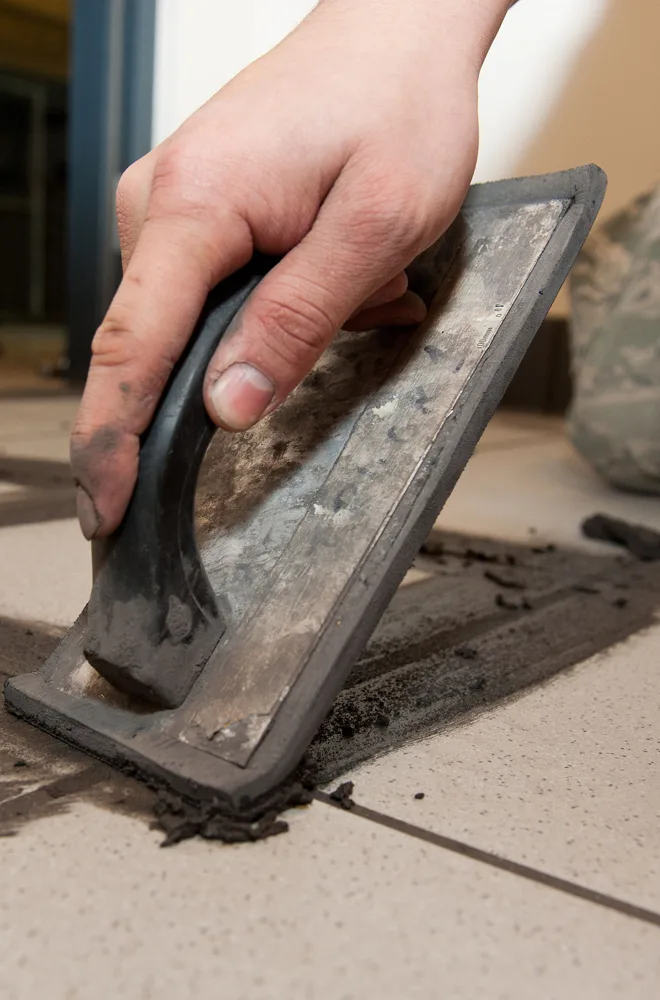
Tools You Need
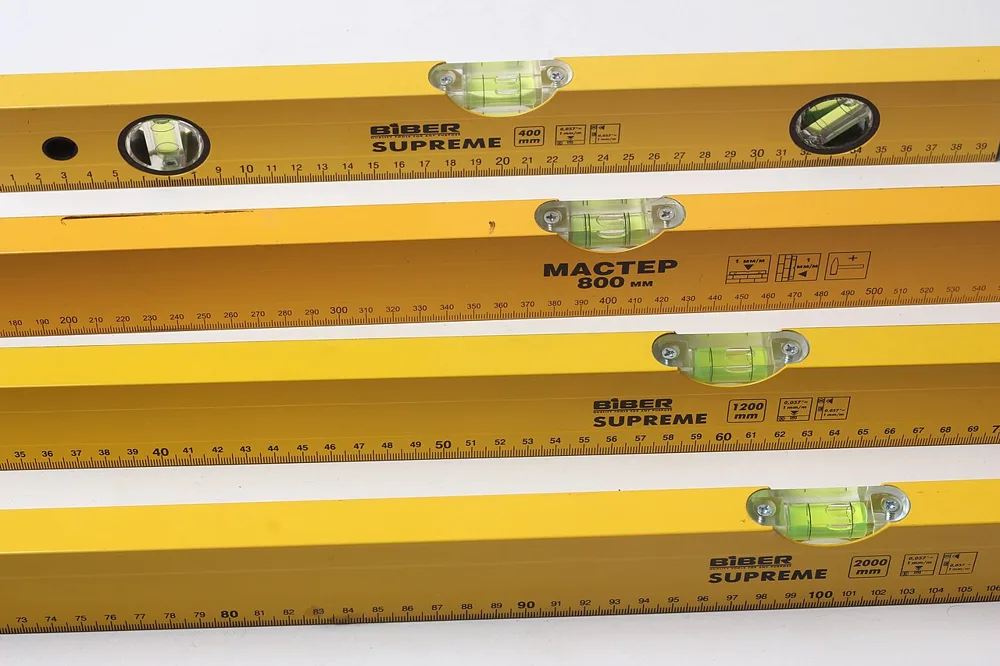
KSh 200
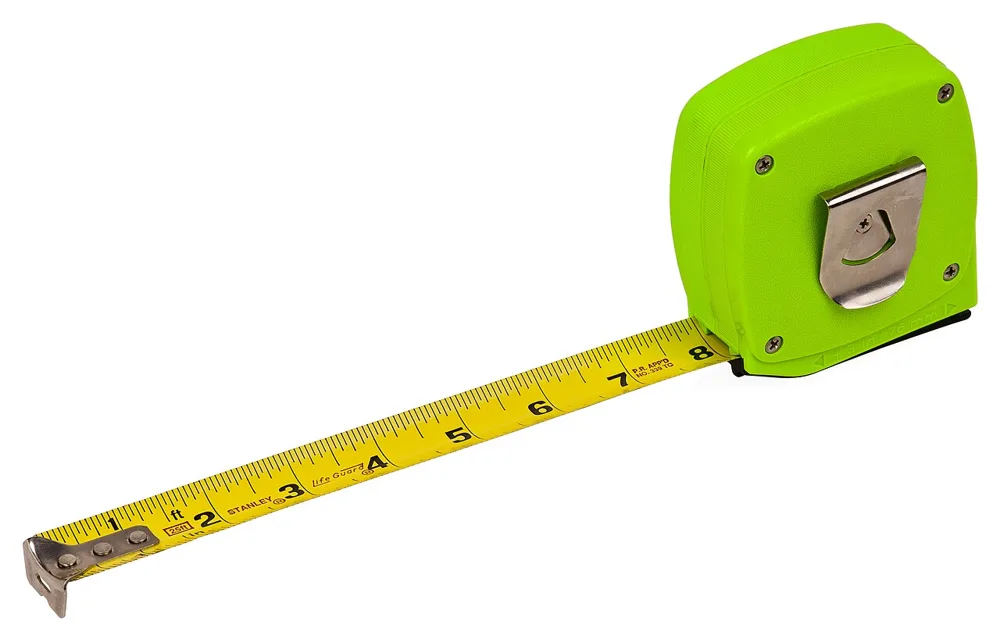
KSh 150
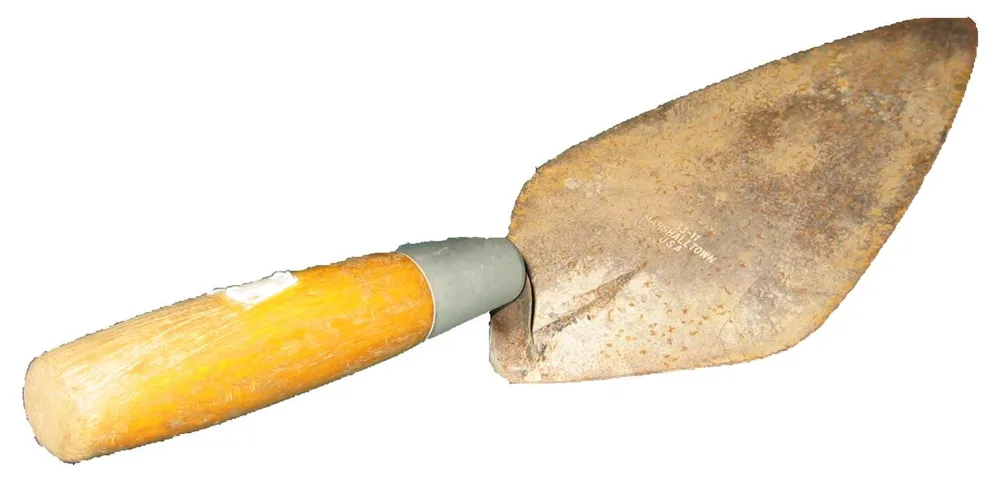
KSh 150
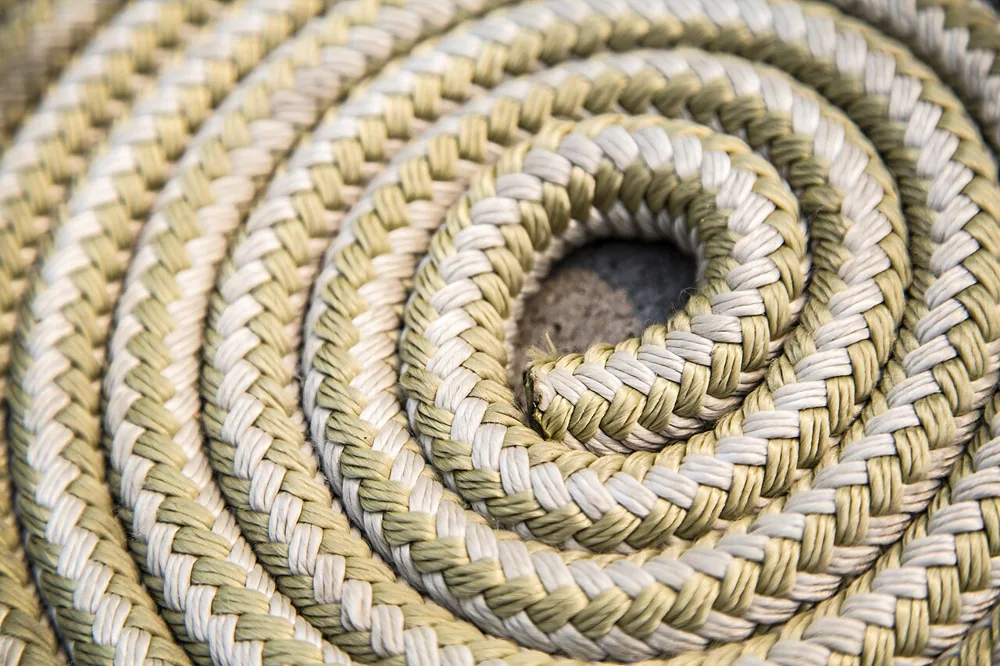
KSh 50
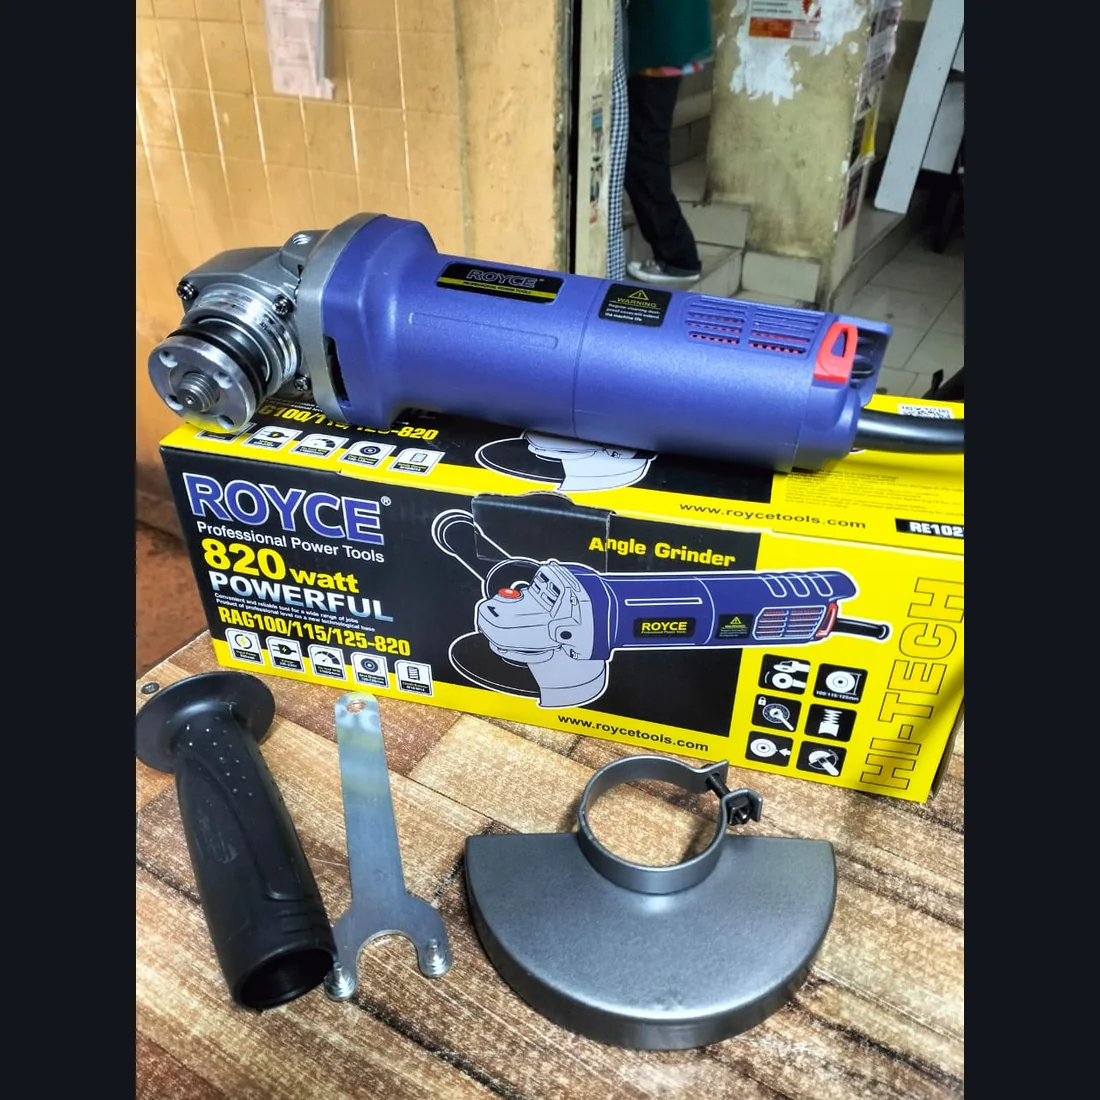
KSh 4,000
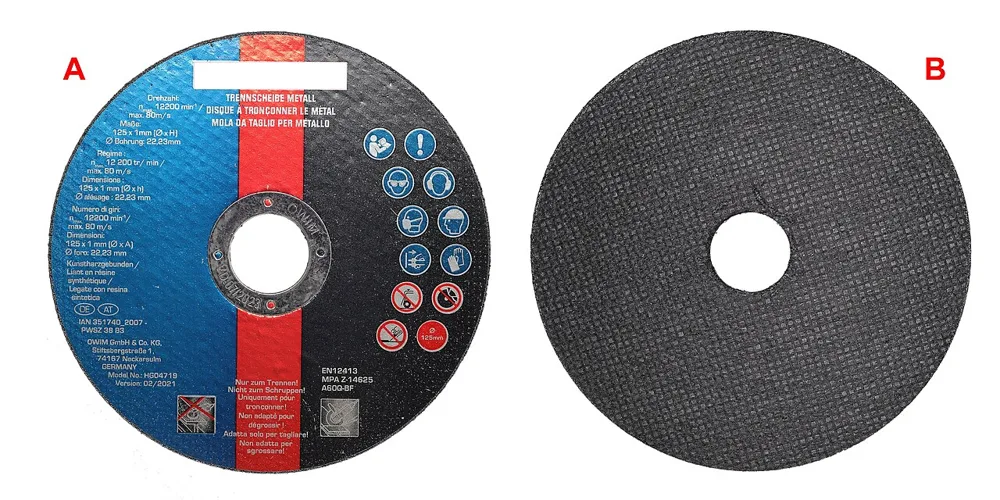
KSh 400
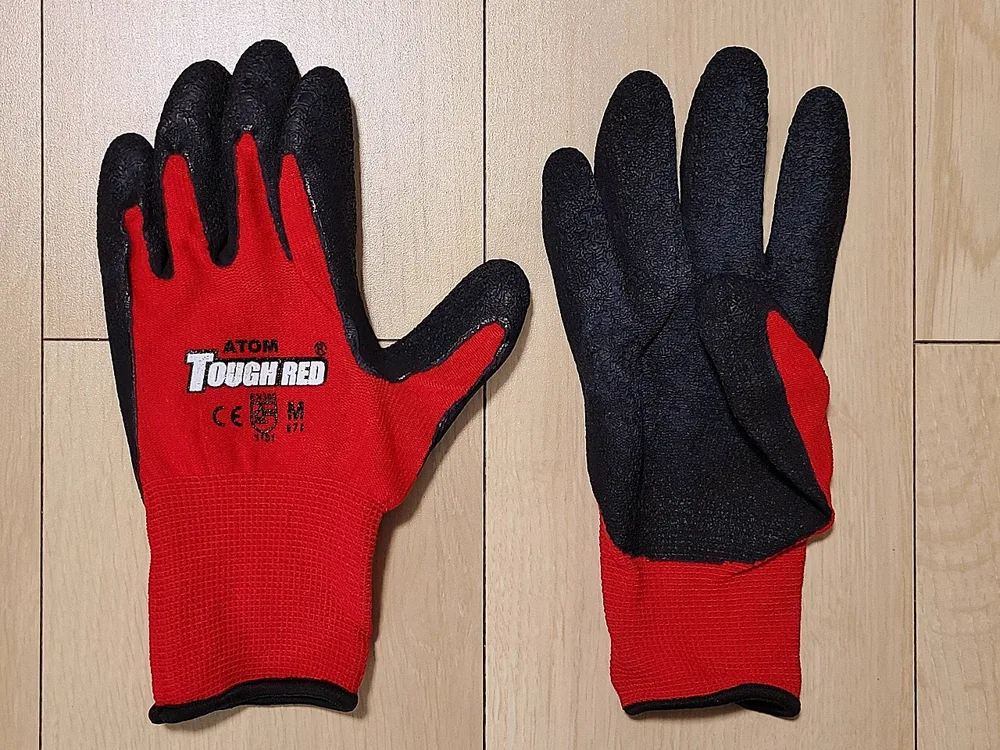
KSh 250
Some photos are reference images of the product type, used under open licences. Image credits are on each product page.
| Tool | Why |
|---|---|
| Notched trowel | Spreads adhesive evenly |
| Spirit level | Keeps tiles flat and level |
| Tape measure and string line | Setting out straight lines |
| Tile spacers | Even joints |
| Rubber mallet | Bedding tiles without cracking |
| Tile cutter or angle grinder with diamond disc | Edge and corner cuts |
| Grout float and sponge | Filling and cleaning joints |
| Gloves and knee pads | Protection |
Materials
Some photos are reference images of the product type, used under open licences. Image credits are on each product page.
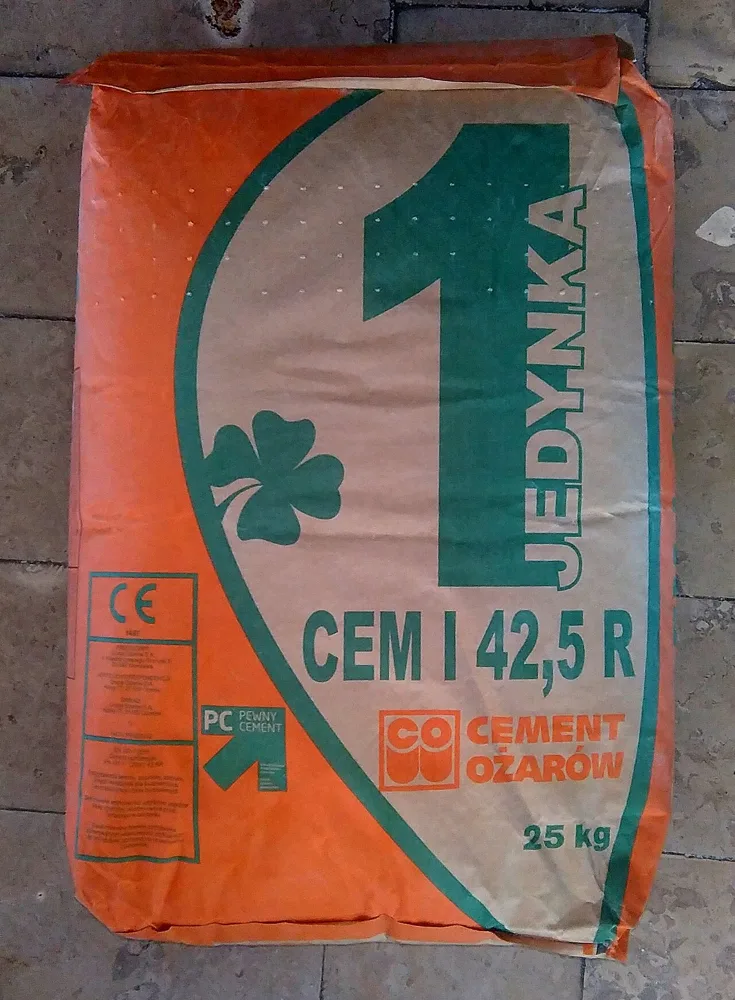
You need the tiles, tile adhesive (or a cement-sand bed where the fundi prefers it), spacers and grout in a colour that matches. Grout from Buy More Mall starts at KSh 100.
How Many Tiles Do I Need?
Floor area = length × width. A room 4m × 3.5m is 14 m². Add about 10% for cuts and breakages (15% for diagonal patterns): 14 × 1.10 = 15.4 m². Divide by the area one box covers (printed on the box) and round up.
Step-by-Step
- Prepare: remove loose material, fill holes and let any new screed cure. The floor must be flat; high spots make hollow tiles.
- Set out: find the centre of the room, snap two lines at right angles and dry-lay a row each way so cuts are even at both walls.
- Mix adhesive: follow the bag and mix only what you can use before it starts to set.
- Spread: about one square metre at a time with the notched trowel.
- Lay: press each tile with a slight twist, insert spacers and tap level with the mallet. Check with the spirit level across several tiles.
- Check bedding: lift one tile early on to see full adhesive contact.
- Cut: measure each edge tile and cut with a tile cutter or grinder.
- Set: keep off the floor until the adhesive has set.
- Grout: remove spacers, press grout into joints diagonally, wipe with a damp sponge and polish off the haze when dry. See how to grout tiles.
Worked Example: A 14 m² Living Room
The fundi orders 15.4 m² of tiles, adhesive and grey grout, sets out from the centre so the doorway gets a full tile, lays the floor in one day and grouts the next morning. The owner keeps a few spare tiles for future repairs.
Common Mistakes to Avoid
- Tiling on an uneven or dusty floor.
- Spreading adhesive over too big an area so it skins over.
- Starting from one wall so a thin sliver ends up at the door.
- Walking on tiles before the adhesive sets.
- Not keeping spare tiles from the same batch.
Not sure which one fits? Send us your details on WhatsApp or through the product page and we will help you choose.
Frequently Asked Questions
How do I tile a floor step by step?
Prepare the floor, set out from the centre, spread adhesive, lay tiles with spacers, cut edges, let it set and grout.
How many tiles do I need for a room?
Length × width, plus about 10% for cuts, divided by the coverage of one box.
Can I tile with cement instead of tile adhesive?
Many fundis use a cement-sand bed; adhesive is easier to get flat and is designed for tiles. Follow the tile maker's advice.
How long before I can walk on new tiles?
Usually about 24 hours; check the adhesive instructions.
How long before grouting?
Once the adhesive has set, often the next day.
Cover photo: Connect, Grow, Celebrate Ceramic Tile Installation, Sensory Garden-46 by Shkuru Afshar, BY-SA 4.0, via Wikimedia Commons. Cropped.
Prices shown are regular prices on Buy More Mall. Many products are currently on offer, so open the product page to see today's price.
Related Guides
Recent Posts

How to Make an Invoice in Kenya (2026): Free Template, What to Include and How to Get Paid
How to Write a Quotation in Kenya (2026): Format, Sample and Tips to Win the Job
How to Keep Business Records in Kenya (2026): Simple System for Small Businesses

How to Manage Stock in a Small Shop in Kenya (2026): Stop Losses and Stock-Outs

How to Calculate Profit in a Small Business (2026): Formula and Kenyan Examples
KRA eTIMS for Small Businesses (2026): How to Register and Issue an eTIMS Invoice

How to Sell on TikTok in Kenya (2026): Videos, Lives and Turning Views Into Orders

How to Run a Sale or Discount Offer in Kenya (2026): 12 Ideas That Protect Your Profit

Rotary Hammer and Demolition Hammer Price in Kenya (2026): Which One Do You Need?
 buymoremall
Kenya's Online Marketplace
Buy More Mall Kenya gives you a direct link to manufacturers, suppliers and service providers. Sellers are verified, there are no shortcuts, and customised orders come at affordable rates.
- Buy direct from manufacturers & suppliers
- Verified sellers and service providers
- Pay securely with M-Pesa
Shop
Sell & Earn
Help
Contact Us
- 0717 263 774
- Chat on WhatsApp
- buymoremallkenya@gmail.com
- Eastern bypass Ruiru Near Naivas super market @ kamakis & Nanyuki Neema Academy
- Contact page